Saturday, December 1, 2012
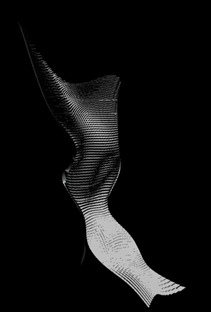
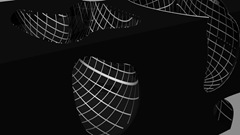
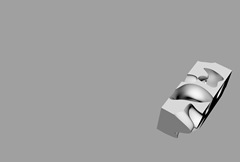
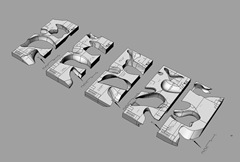
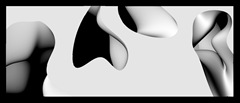
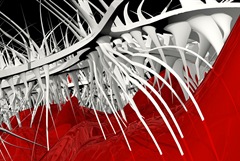
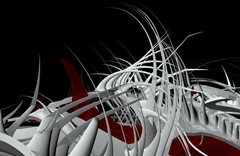
Rhino: Goat
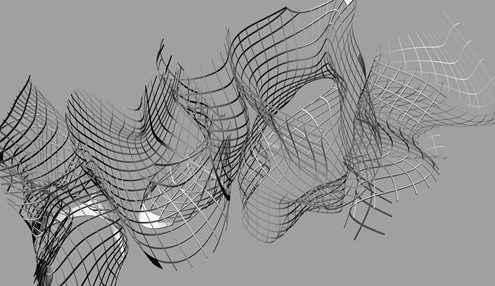
If you have, don't be shy - I am curious regarding the output and your thoughts. Thanks!
Wednesday, August 1, 2012
Import NURBS geometry cleanly from Rhino into Maya
Moving geometry in and out of Maya can be difficult, especially moving geometry in a useable format between the two platforms. There have been attempts to move the geometry through a number of mediums, including .iges, .obj, .dwg, etc. I’ve found the majority of these to fall short in the face of highly articulated geometries. Rhino provides certain benefits over Maya, such as grasshopper and fabrication compatibility, but lacks much of the mesh control provided for in Maya.
In order to maintain the fidelity of the NURBS geometry, knowing that the geometry will be further worked in Maya, do the following:
- Select NURBS object in Rhino. Run the command : ExtractControlPolygon. Move the polygon mesh away from the original NURBS geometry.
- Export the object out of Rhino in the “wavefront OBJ” format.
- Open the object in Maya.
- Subdivide as needed. Done.
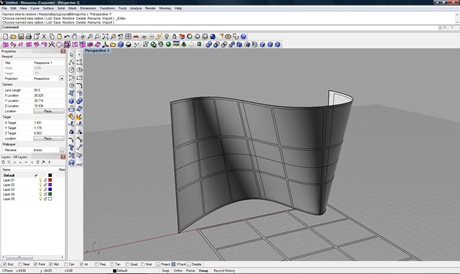
The upper screenshot below is of a surface in Rhino. The left geometry is a NURBS surface. The right geometry is the control polygon.
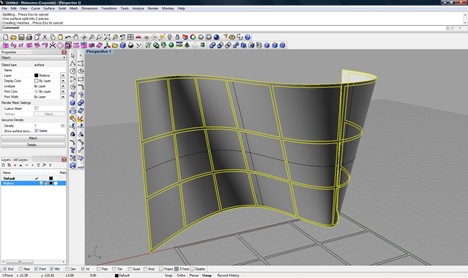
In the lower image is import geometry in Maya. The mesh on the right is the control polygon imported from Rhino. The surface on the right is a subdivided mesh straight from the control polygon (press “3” in the software…). Note that they are identical.
The only shortcoming of this method is that it only exports a single surface at a time, so if there is any mass to your NURBS model, each surface will need to be extracted and exported separately.
Thursday, June 3, 2010
Maya to Rhino translation in real time
[LAN: Maya Fluid to Grasshopper via UDP]
Monday, August 10, 2009
parametric study – solar articulation/surface aggregation
For this study, I was asked to design a skyscraper who accommodates a system of panelization in which each panel is to be normal to the sun. One could think of these as either solar shades or PV panels. This condition allows for a level of sustainability about tall, topological projects, while still allowing the architect to control form while keeping the surfaces developable.
A number of steps went into solving the problem:
- Planar surfaces where created from the NURBS surface using LIFT Architects Grasshopper Primer.
- I then divided each panel into a 2x2 grid using U & V values, which yielded 9 points. I then extracted the corner points (1, 3, 7, and 9) and the middle points (5) into two distinct lists, or arrays.
- To create surfaces normal to the sun, I used trigonometry based on the vectors between the sun and the center/corner points of the original diagrid pieces. Because the magnitude (length) of the pre-existing vectors are known (both to the corners and to the center) as well as the angle between those vectors, a cosine function can be used to determine planar points along the corner vectors. Basically, as long as all end points of all lines draw a perpendicular vector to the existing central point vector, the surface, by definition, will be planar (see diagram).
GIVEN
- Once I had the four new corner points, I used a ‘surface from four points’ component and baked the geometry into Rhino.
Because of the parametrics of grasshopper, one can view all possibilities of each panel, the number of panels, change the solar path relative to the building, etc.
To find the solar data I used an excellent excel spreadsheet put out by Greg Pelletier through the Washington State Department of Ecology (titled solrad.xls v1.2). It can be found on the web here.

Images
(panels fixed in July position except in the video)
If the panels were to move in relation to the sun, it would look something like this (July solar data, of course):Interior Perspectives (January vs. July)
Wednesday, April 8, 2009
A Rhinoceros with Fins on Stairs
I was asked today to do a short tutorial on a little known yet valuable command in Rhino called Fin.
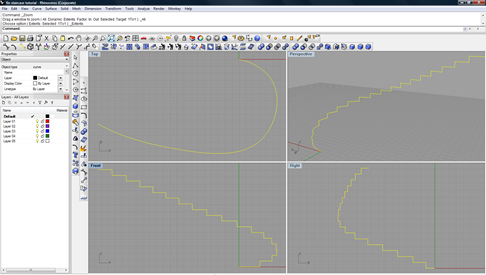
Fin, according to the help manual, “Creates a surface by extruding a curve on a surface, normal to the surface.” The practical example below will use the fin command to create stair a simple staircase based on bent geometry.
Problem: This technique will not work with an applied UV curve nor geometry which has been oriented to a predefined surface; in both instances the threads on the staircase become skewed. When offsetting a polyline which has been through bend, etc. the offset will not be fully realized, so offset/loft wont work either.
Also note that this is not for wild, topological stairs (which may or may never be used/built/whatever), but is for using very controlled geometries to create stairs which someone on a cane might use.
1. Create staircase geometry (lines). JOIN them all together as one line.
2. Manipulate by the ROTATE/BEND/TWIST commands to desired state.
3. Use interpolated curves along the top edge of the stairs, so that the curve your creating follows the curve of staircase. Copy this new curve vertically above and below the stair geometry. Connect these two new lines with single straight line. SWEEP2 the two curves and the straight line to create a surface parallel but larger than the new staircase geometry.
4. FIN the staircase curved polyline. Select the surface created in step 3 as the surface as the “base surface.”
5. Erase/Delete the construction curves and surfaces to complete staircase.
Also know that you can build stairs using Grasshopper, if that’s your thing.
Leave questions in the comments-
Wednesday, March 25, 2009
Why we use four viewports in modeling software

This may seem trivial to some, but I found it interesting: the answer lies in mathematics and theory.
In Cartesian space we typically have three coordinates: x y & z. Each view isolates one coordinate, leaving only two variables. In math, when only two variables exist, then you can isolate one to solve the other. When three are present, then the equation becomes somewhat indeterminate. Consider the standard viewport: typically these viewports show elevation or section – a flat representation of the model. We can assume three viewports for the three combinations created with the three coordinates: XY XZ & YZ.
The final viewport is represents what some might consider the fourth coordinate, that being Time. Typically this fourth viewport is a perspective – perspectives show relativity in space; that is, one is closer than another, or distance as representation of time.
Wednesday, March 11, 2009
Montessori School Mid-Term Review
The architecture seeks to reclaim dense urban interstitial space through an intervention between towers. Spontaneity of the Montessori process is expressed through spatial representation, or the void, while the positive space creates the necessary enclosure. The project introduces certain sustainable practices such as traffic decongestion, urban renewal, robust structural systems, etc. The porous technique applied to the seemingly regular box allows for light penetration, wind load reduction, and a cool effect to say the least. It’s not a duck, but it will do.
Just finished the first half of the project - thought I would post some of the presentation images-
_quick renders:
_site
_plan
_elevation
leave thoughts in the comments-
How To Create a Curtain Wall in McNeal’s Rhino modeler
Recently I spent a good bit of time trying to figure out how to do mullions on irregular surfaces using McNeal’s Rhino software. There really wasn’t any good information on a way to do this posted online, so I’ve included my technique below for anyone who needs it.
I started by trying to do a series of fins (curve offset in the direction of the normal of a surface) but it couldn’t, without some scripting, be batched. So I abandoned the idea…
I also considered using Revit, but the surfaces were a bit complex and the solution Revit presented was not so elegant – a disappointment I had anticipated. There is a good video on Revit/Rhino workflow if you’re interested here (thanks Jeremy).
To get a good window mullion, including size control, the best way to go about it is by first applying a window mullion pattern to a UV curve, applying the curve to the surface, and offsetting the surface (thanks Jeremy) using both directions and volume capped options enabled. Just extrude the mullion half of what the total width is and because it will extrude in both directions the mullion will be expressed on both the inside and outside of the curtain wall.
For the sake of the tutorial, I’m going to assume that you know about UV curves in rhino. I wrote a tutorial on UV curves for a class I had last semester – I’ll try to post it later as another tutorial sometime in the near future.
Step Null: Starting Condition
Step One: Create Mullion Pattern on UV Curve
To create a UV Curve, go to Curve –> Curve From Objects –> Create UV Curve
Create a pattern based on the height of the mullion. Array the pattern to save time if necessary. Also be sure to give the mullion pattern a sill/header mullion condition on all sides.
Step Two: Apply UV Curve
Curve –> Curve From Objects –> Apply UV Curve
Step Three: Split All Objects
Just type Split into the command bar and select both the old surface as well as the new mullion surface. For the split to work best, only split one surface at a time, and try not to select geometries which extend past the surface edge. To fix the “extended geometry” condition, simply trim the geometry by using the surface as a cutting plane.
Step Four: Layer Control
Be sure to move the polysurface to a mullion layer before and after the extrusion.
Step Five: Extrude Mullion Surface (both directions = yes, capped = yes)
Again, ensure that the surface and the mullion layer are separate. This will help in the future as you work with multiple non-regular curtain wall conditions.
Final Results:
_________________________________________________________
And that should be it. See the curtain wall condition in one of my current projects to get an idea of how convoluted these situations really can become:
If you need the corresponding file from above, or have a question, feel free to shoot me an email, or leave it in the comments-
Thursday, December 4, 2008
Urban Intervention
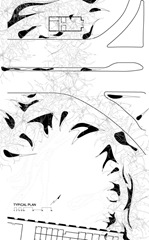
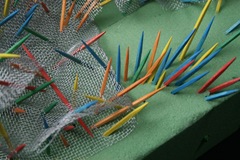
In this project, the intervention is a tool for the reclamation of "jarring" public space (Colin Rowe, Collage City) which dominates the suburban landscape. The intervention creates an spatial representation of Affect (in this case, the horrific) generated through philosophical, analog, and digital investigations by employing poché as an urban organizing strategy. Included below are photos of the final study model and the subsequent digital investigations.
This project was originally posted on the blog Theoremas.


